Tuesday 28 January 2014

My Year

Hi everyone! Thanks so much for being here - Today I am joining up with the Catered Crop year in review.


     I thought it would be great to look back at some of my favourites over the year! Gosh it was hard to choose and I was cringing slightly at times - especially back to January and February when I was such 'an ink and stamp' newbie! I was struggling to find my feet and it is very strange to look back - basically because I can vividly remember those early struggles and to be honest it seems much longer than a year ago!
                                                                 

 January


This one was one of my first favourites....I was still trying to master some techniques and was also struggling with having very few craft supplies - hence the faded black ink courtesy of a VERY old ink pad!


February

      
I loved this one - a very special creation made even more special because it was my first ever win at Frilly and Funkie. It was the first time I had used Distress Stains and I loved every second of making this. I think it was while making this I discovered a passion for using die cut flowers!
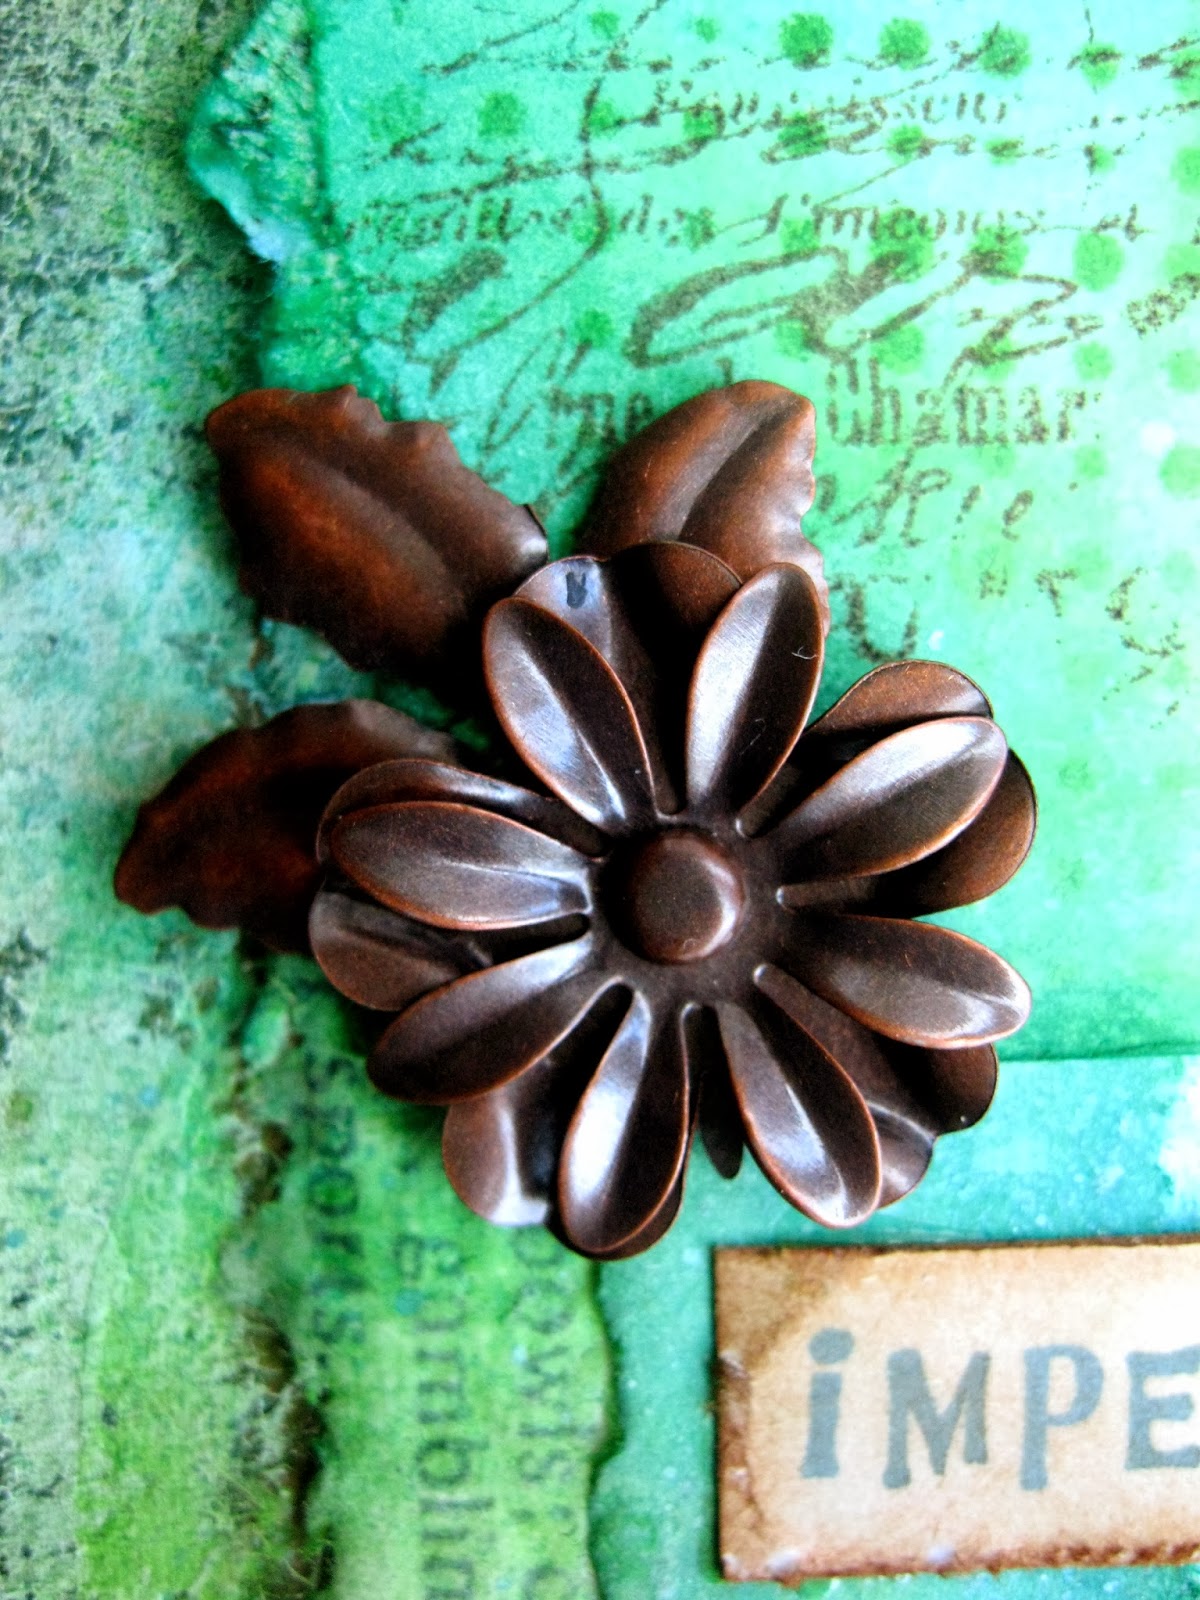

March


In March the flowers continued and I began to get braver at experimenting with crafts - This was a lovely hanger to make and was another winner too! This is very special to me though because it led me on such a wonderful journey 


April


I adore this creation! This was one of the first times that I went to town on a creation and worked at it for quite a long time. This was for a challenge called 'Steampunk Fairytales' and I chose the Wizard of Oz...I thought that this story linked to Steampunk very easily and the whole thing was blissful to make...not bad for my first ever Steampunk creation!


May


 This is very special to me - a photo of my our wedding day! I love projects like this where there are never any issues, any difficult decisions...any lack of inspiration. This one was one of the easiest things to make and a joy to do.


June


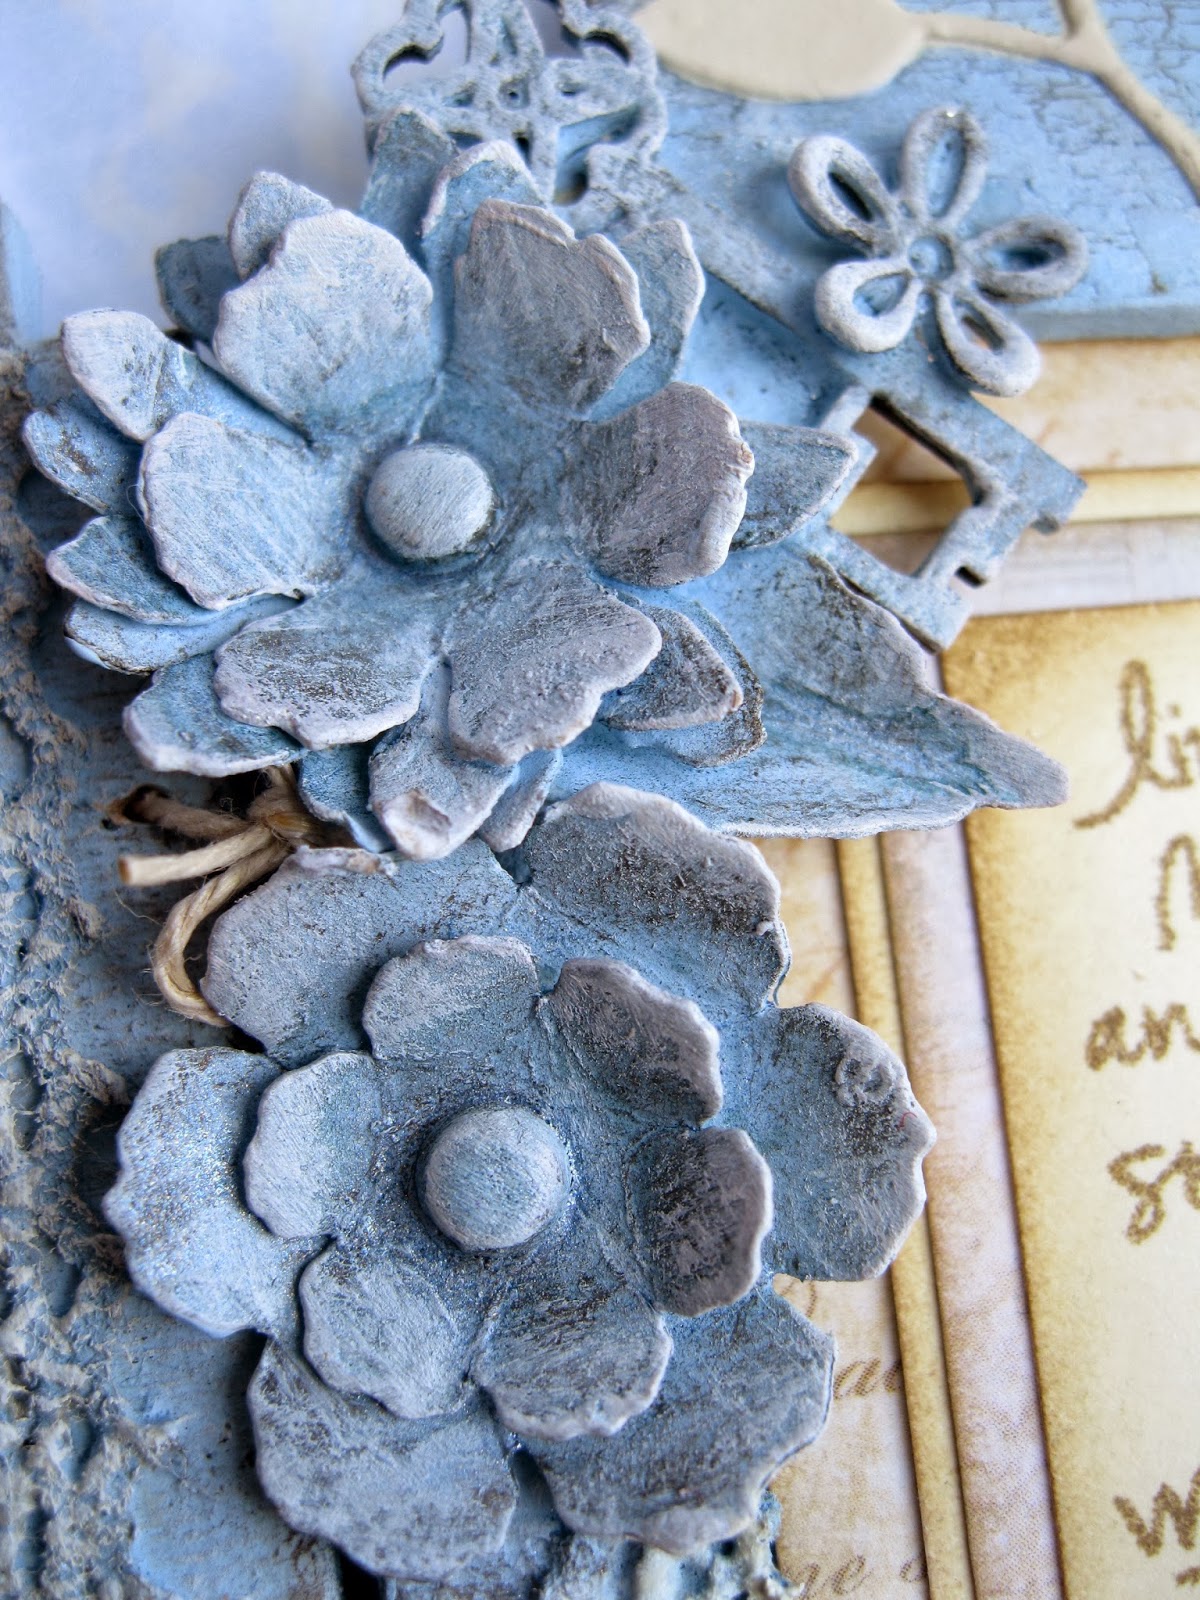
A Guest design project! I loved this - It was such a lovely thing to make. It was one of those creations where I didn't know exactly where I was going with it at first - other than I was inspired by Wedgewood pottery and wanted to do something that resembled that.

July

   
One of the first mixed media pieces I did that I actually really liked! I used Serviettes, Paint, ink and texture paste to create this picture and I loved making it. This is one of those items where it turns out just how you wanted it to....


August


I obviously caught the Steampunk bug because here I was in August enjoying making another Steampunk creation. I loved altering this matchbox and again, this was another creation that just seemed to flow from start to finish

September


I couldn't leave out my Tim Holtz winner...I adore this tag mainly because it was the first time I realised that even when crafts don't go as you think they should, it doesn't mean you got it wrong. I still struggle a bit with the search for 'perfection' but I am realising that there is no such thing! ;o)


October


This is another creation where the challenge I made it for just spoke volumes to me. I made it for 'What's your poison' at Frilly and Funkie and when I read it I suddenly thought Snow White and began to consider how to bring that into a horrific Halloween tag...I love those kind of creative journeys!


November


My first adventure in jewellery making !I adore fiddly tiny work - the fussier the cutting the better and the more tricky the gluing then I am in bliss...!


December


I think this is my favourite Christmas Creation this year. It was tricky to make, lots of problem solving and frustrating situations but I loved every second of making it. It was the best compliment in the world when my 5 year old took one look and said "Mummy that is AMAZING! Can we have this at every Christmas?"


Thanks so much for being here to see my year - I am so glad you are here....


 photo temp3_zpsf37f8b2d.png
I am entering this into the 'Remembering 2013' at Catered Crop


Follow on Bloglovin

Diving into Colour

Hi everyone!

 I am here today diving into colour - or at least attempting to! The results were a bit hit and miss (in my eyes) I am very set into neutrals at the moment (a lot are to come in Feb - all scheduled and ready to go!)....so I figured if I am ever to get out of the brown mood, I needed to just take a deep breath and dive right in...


    So I chose some brights - I had two Distress inks that had barely been used since I bought them - Peacock Feathers and Mowed Lawn - I find these colours quite scary and I think I ordered them by mistake to be honest!!! When they arrived my first thought was "What was I thinking?!!".....I added some Broken China and I was determined to stay away from browns!

    I started with some Peacock Feathers, Mowed Lawn and Broken China DI's dabbed onto the craft mat and some Picket Fence DP dabbed on as well. A few spritzes of water and then I placed some card onto the paint/inky puddle and smooshed it around. A bit of drying with the heat gun and some more dabs later and I had a lovely marbled effect. I dabbed some extra Mowed lawn and Peacock Feathers DI (now the colours were really bright!) and did some spritz and flick...


   I dabbed some Peacock feathers and Mowed Lawn DI over the Dot Fade stencil and then added some Picket Fence DP through the stencil as well.


I stamped some TH stamps in Potting Soil Archival ink


..........and stamped a bubble wrap stamp using Peacock Feathers DI.


      I got some corrugated card and tore some pieces away to reveal the texture.


    I then painted over it with Gesso. When the Gesso had dried I stuck on some text tissue paper and painted this over with very watered down Gesso.


I then used some of the TH transfers and afterwards toned them down with watered down Gesso.


    I tore the original inked and stamped page and used the excess strips from either side as decoration on the tag. I stuck down the two thin strips first, sprayed them with a little Cosmic Shimmer Spray in 'Patina' and then I stuck the stamped section on top.


      At this point I didn't really like it. The white gesso background was too harsh and I wanted a more shabby effect. Thinking I had messed it up, I rather angrily began just dabbing Mowed Lawn and Peacock Feathers DI randomly along the edges of the tag, occasionally dabbing over the strips and the main image too.....after a while I began to realise I did quite like how it looked and decided that, while it might not look how I intended it to, I should at least finish it.


     So I decided to use some words stamped with an alphabet stamp - 'Embrace Imperfection' seemed  right for this creation and I stamped with Cornflower Blue Archival ink and then blended some Vintage Photo over it after distressing the edges with a pair of scissors. (sorry brown had to come in
somewhere!)...


 ....and I couldn't resist some TH idea-ology Metal Foliage Flowers....


Rusty wire formed the loop at the top of the tag and I used two small beads to decorate it.


Hope you like it!
Thanks so much for being here - hope to see you again soon!


 photo temp3_zpsf37f8b2d.png
Follow on Bloglovin

Sunday 26 January 2014

Lots of Layers

Hi everyone!

     I can't stop making tags at the moment! - I just love making them! Of course this one is for the challenge over at Fashionable Stamping Challenges - so technically it is not my choice - but then again I am certainly thrilled to see it be the current challenge subject....and no doubt everyone else will be too - after all - don't we all LOVE making tags?!


I decided to do my favourite layering...using stencils and then stamp with paints and inks. It seems to add such depth to a tag - it is a lovely effect and so much fun too.

    One of my favourite stamps sets is Tim Holtz Stampers Anonymous 'Haberdashery' set. I used nearly the entire set on this tag!

    I knew I wanted to use the colour Faded Burlap so I began with my favourite stencil - 'Harlequin' - using a mix of Frayed Burlap and Antique Linen DP, I dabbed the paint over the stencil. When it was dry I covered the tag with Frayed Burlap DI.


    I stamped several stamps with Antique Linen DP and then stamped with Frayed Burlap DP. When these were dry I stamped everywhere else in Potting Soil archival ink - adding in my favourite script stamp too!


I stamped a quote in Potting Soil ink and then covered it with Distress embossing powder in Walnut Stain. Normally I would remove the excess embossing powder - but this time I chose to leave it to add a grungey effect.


  A rose covered with Antique Linen DS and a metal leaf were added to the corner of the tag


    An ornate metal corner was added to the top of the tag


Hope you like my tag!

Why not come over and join us this time at Fashionable Stamping Challenges 
 Remember we are a stamping challenge so please feature a stamped focal image on your creation.
  You could be the winner of $20 to spend at Flonzcraft Stamps! And of course you could be picked at one of our Catwalk Spotlights!


 photo temp3_zpsf37f8b2d.png
Follow on Bloglovin