Showing posts with label script stamp. Show all posts

Sunday, 8 November 2015

Winter in Paris


  Hi everyone!

I am here today with the latest challenge from Fashionable Stamping Challenges. 

and the subject this month is

...Winter in Paris 

As we are getting closer to Christmas I decided to give this card a festive twist...


To make sure that I kept the focus on Paris I, of course, used that most iconic image - the Eiffel tower....


To make the card I covered the craft mat with Black Soot DI and Iced Spruce and Picket Fence DP. I then spritzed with water and swirled the card through they inky paint pool and dried the card.

I then used a Flonzcraft Christmas script stamp on the background using Pumice Stone DI


I stamped the 'Christmas Cheer' message and the picture of the Eiffel tower in Jet Black archival ink and cut and matted these images with leftover painted card. I then did a quick spritz with Decoart Media white shimmer mister


I then got together a selection of die cut holly leaves and branches. I painted the holly leaves with Decoart Media Avrylic paint in Phthalo Green-Yellow then covered them with Liquid Glass to give a shine. 


I covered the branches with Walnut Stain and Gathered Twigs DI. I dabbed them with glue and covered them with Rock Candy Distress Glitter


An ivory rose was brushed with glue and sprinkled with Rock Candy Distress Glitter


I added some crystal and pearl beads and also some ivory lace


Enter this challenge and
you could be the winner of $20 to spend at Flonzcraft Stamps!

And of course you could be picked as one of our Catwalk Spotlights!
 

  Remember we are a stamping challenge so please feature a stamped focal image on your creation.  


Hope to see you there!
 

Happy Crafting!

Laura xxx


Follow on Bloglovin

Sunday, 4 October 2015

Rust No.1

Hi everyone! 

    
 Here is the first follow up post to Adventures in Rust....

In that post I featured five rust pieces that I was going to make into creations to feature here.

The first one was the Rust background....


....and here is what I made


I decided to concentrate on the yellow tones in the rust (even though they are eventually covered up)


I started by cutting a heart shape from card and covering it with Decoart Media Crackle Paste. When this was dry I covered it with a wash of Decoart Media Transparent Yellow Iron Oxide acrylic paint. This was then dry brushed with Quinacridone Gold and Burnt Umber. When the heart was dry it was rubbed with a sanding block.


 I used a Found Relatives Photo for the collage and cut the people out and stuck them onto the heart with a ruler from the Salvage stickers set.


 I added a brass flower with some die cut leaves that had been inked with Brushed Corduroy DI and stamped with Jet Black Archival ink using a script stamp
 

A calendar months was added along with a filigree brass decoration

A brass key was added to the collage

Several brass buttons were added


A brass hinge was used as decoration


I added more hinges to the top of the collage 


And there is my finished collage....


The next rust creation will be this one....hope you will come back to see what I made with it....


Thanks so much for being here!

Happy crafting!

Laura xxxx


Follow on Bloglovin

Sunday, 13 September 2015

Create with Words


Hi everyone!


      I am here today with a challenge from Fashionable Stamping Challenges. 
Today it is my challenge and I have asked that we....

    Create with Words

So any words please - But please, make sure they are stamped images...

Here is what I made...


 I decided to make a card....I don't make many cards. I don't know why but I find them trickier to make than anything else. I always feel limited by the space - which is silly really because I can make a tag or an ATC....there just seems to be a 'block' when it comes to making a card....

     Anyway....I started with one of my favorite Tim Holtz stamps for the background...I love that random script and text effect and it always makes a good background! I stamped it with Vintage Photo DI as I wanted a faded muted effect and Archival ink would have been too distinct.


I added butterflies to it as well in Gathered Twigs DI.....

The main focal part of the card was a piece of card that had been used to mop up inks from a  previous craft session.


The inks used here were Peacock Feathers and Mown Lawn DI's...I stamped a flourish edge stamp using Potting Soil archival ink and mounted the card onto a piece of card that was covered with Gathered Twigs DI.

The quote is one of my favorite Paperartsy stamps and it was stamped onto card that had Gathered Twigs DI blended over it


A piece of wood print ribbon was placed onto the card


A stamped flower was attached with a button center


And there is my finished card.....


Enter this challenge and you could be the winner of $20 to spend at Flonzcraft Stamps!
And of course you could be picked as one of our Catwalk Spotlights!
 

  Remember we are a stamping challenge so please feature a stamped focal image on your creation. 


Hope to see you there!


Happy Crafting!


Laura xxx


Follow on Bloglovin

Sunday, 6 September 2015

Autumn at Last

Hi everyone!

Welcome to another Autumn inspired creation!


 This one was actually made last Autumn...but I didn't like it very much and I really had no enthusiasm for writing about it. The photos stayed in a folder on my computer and when Winter arived it seemed wrong to put up an Autumn creation...

I had basically dismissed it as not 'good enough' anyway..but that is something I don't like doing - I really try to not judge my own creations and I have learned to put things on here that I like and don't like - this blog is my creation diary and shows a creative journey and it would be wrong if I left out pieces...so I am sneaking it in now...a year late, but never mind - better late than never. 

It began with a brass hob ring that I found in a cheap store in the Czech Republic. I got out to the Czech Republic each summer to visit my mother in law who lives out there for half the year. There are many cheap shops out there (similar to Poundland in England) where there is a lot of junk but you can find some treasures occasionally....I loved the brass rings and at a cost of basically pennies it seemed a good idea to grab a few.

I basically covered it in layers of paint - Leaving it to dry slightly then rubbing away patches of still damp paint. I repeated this process several times. I used Distress Paint here in Vintage Photo, Antiqued Bronze and Evergreen Bough.


 I applied some Crackle glaze and rubbed some Raw Umber paint into the cracks.


  I made a background for the center of the frame by using Antique Linen DI and Frayed Burlap DI. Dabbed onto a mat, spritzed with water and then swirl the card in the inky pools. 


The card was than stamped with script and flourish stamps using Potting Soil Archival ink and a splatter stencil was used with Vintage Photo DI

I decorated the frame with many things...


First I used several Memory box dies...covered them with Walnut Stain and Vintage Photo DI 


I added real twigs to the decoration too...

I used buttons


I used die cut leaves stained with Ripe Persimmon, Antique Linen, Vintage Photo and Spiced Marmalade DI. The larger leaves were stamped with a script stamp using Potting Soil Archival ink. Curled rusty wire was added too....


I used an ivory rose that was dabbed with Frayed Burlap DI and an ivory Hemp string bow


I used letter stickers from Tim Holtz salvage stickers set. I attached them to a piece of card after having creased the letters up


A hessian flower was used with a embossed piece of card that was sanded to reveal the colour underneath.


Hope you like it!

Happy Crafting 

Love from Laura 
xxx 


Follow on Bloglovin

Friday, 15 May 2015

Eyes Tested

Hi everyone!

     I am here with another challenge over at Sandee and amelies Steampunk Challenges 

Eyes Tested


I decided to make a tag for this and to experiment with inks for a background.

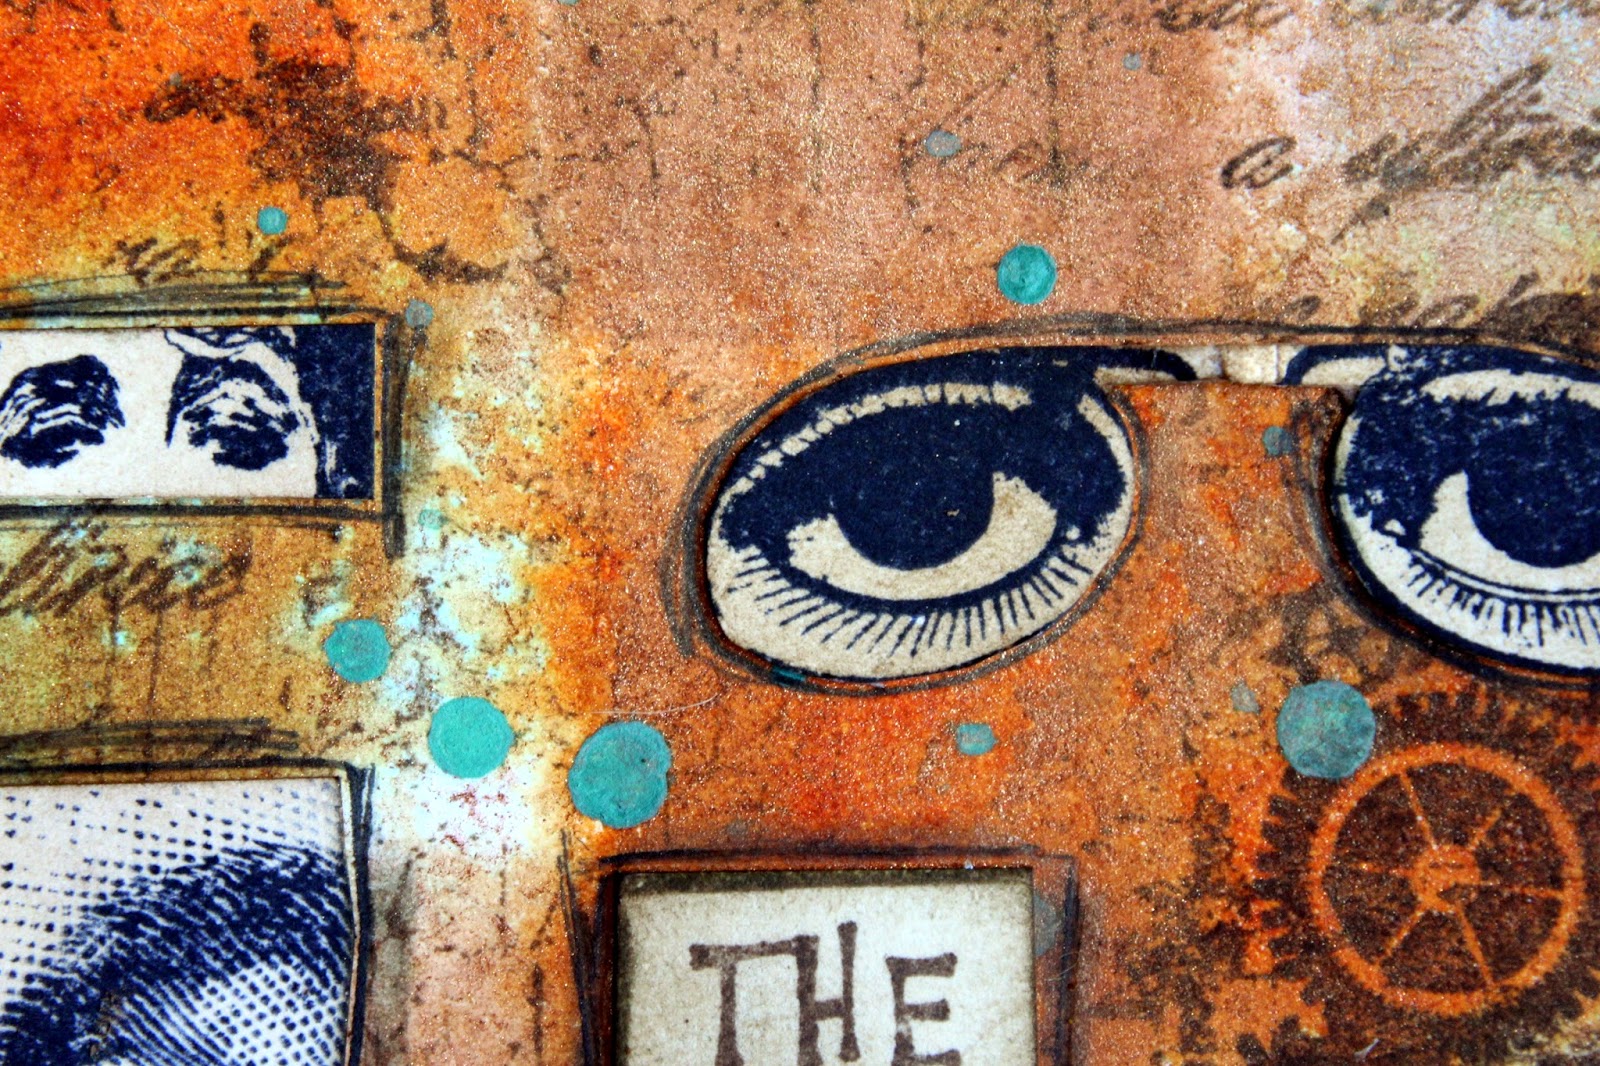
 For this tag I chose Rusty Hinge, Tumbled Glass, Gathered Twigs and Walnut Stain distress inks. I used the blending tool like a stamp, inked it up and pressed it onto the tag. I 'stamped' lots of blocks of colour close together and sometimes overlapping. 

Then I spritzed it all with Copper Glimmer spray and let the colours run and merge


When dry I stamped the tag all over with a cracked paint stamp from the Andy Skinner industrial stamps 


 Then I splattered the tag with some Evergreen Bough Distress Paint


Then I stamped randomly with a french script stamp (that I found down the back of the stamp drawer while hunting for 'Eye' stamps)

A gears stamp from the Artistic Outpost set Industrial Backgrounds was used in the corner


 Then I began to stamp the eyes...various stamps were used inc -

Stampers Anonymous - Classics no 5
Flonzcraft - Gibson Girl 16 and Vintage Machines Engravings
Artistic Outpost - Generation Redux

 I stamped the eyes in Jet Black Archival ink and then cut then to size. I inked the card with Gathered Twigs DI and arranged them on the tag

I stamped the words "The Windows to the soul" on card and inked this with Gathered Twigs as well


I then stuck the words onto the tag and outlined them with Pumice Stone distress marker and added some rustic scribbled lines with a permanent fine tip marker

Dark brown hemp sting and a rusted rose was used to decorate the top of the tag


And so here it is - my 'Eyes Tested' tag.....


Hope I have inspired you to come along and dip your toes into some Steampunk....

Remember, if Steampunk isn't your usual style....we do love to see entries with just a hint of steampunk too!

Come over and see what the rest of the team have made to inspire you!

Happy Crafting!

Laura 
xxx


 Follow on Bloglovin