Friday 30 October 2015

Halloween Greetings!

Hi everyone!

 I wasn't intending to do a specific Halloween creation for the end of the month...but then I bought the Hickory Smoke Distress ink...and it is sooo gorgeous I had to use it...


 I got some card and dabbed some Hickory Smoke DI and Picket Fence DP onto the craft mat and spritzed with water. I then swirled the card through the ink and paint and dried it with a heat gun... dabbing it in the ink/paint until I achieved the mottled effect I was after.


I stamped a skull onto tissue wrap and stuck it to the card with Decoart matte Medium


I stuck some die cut web shapes to the top of the card


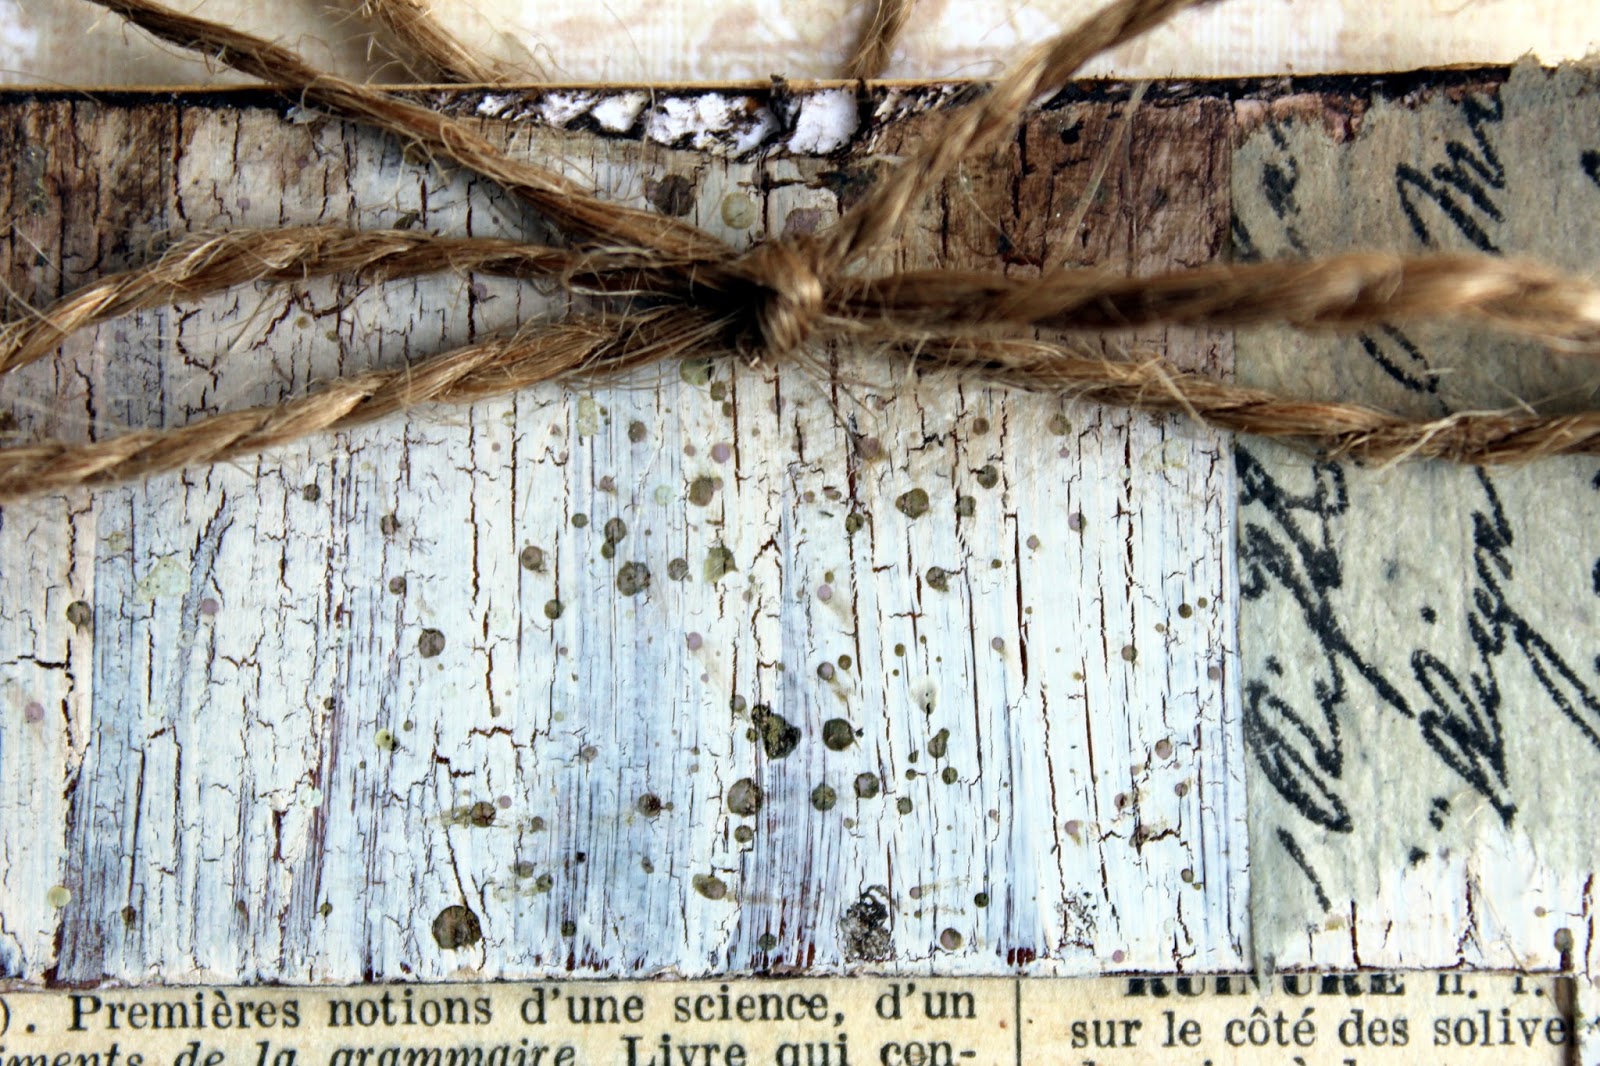
Then I dabbed some Hickory Smoke DI around the edges and stenciled over the top using Roman Numerals stencil with White Acrylic paint.


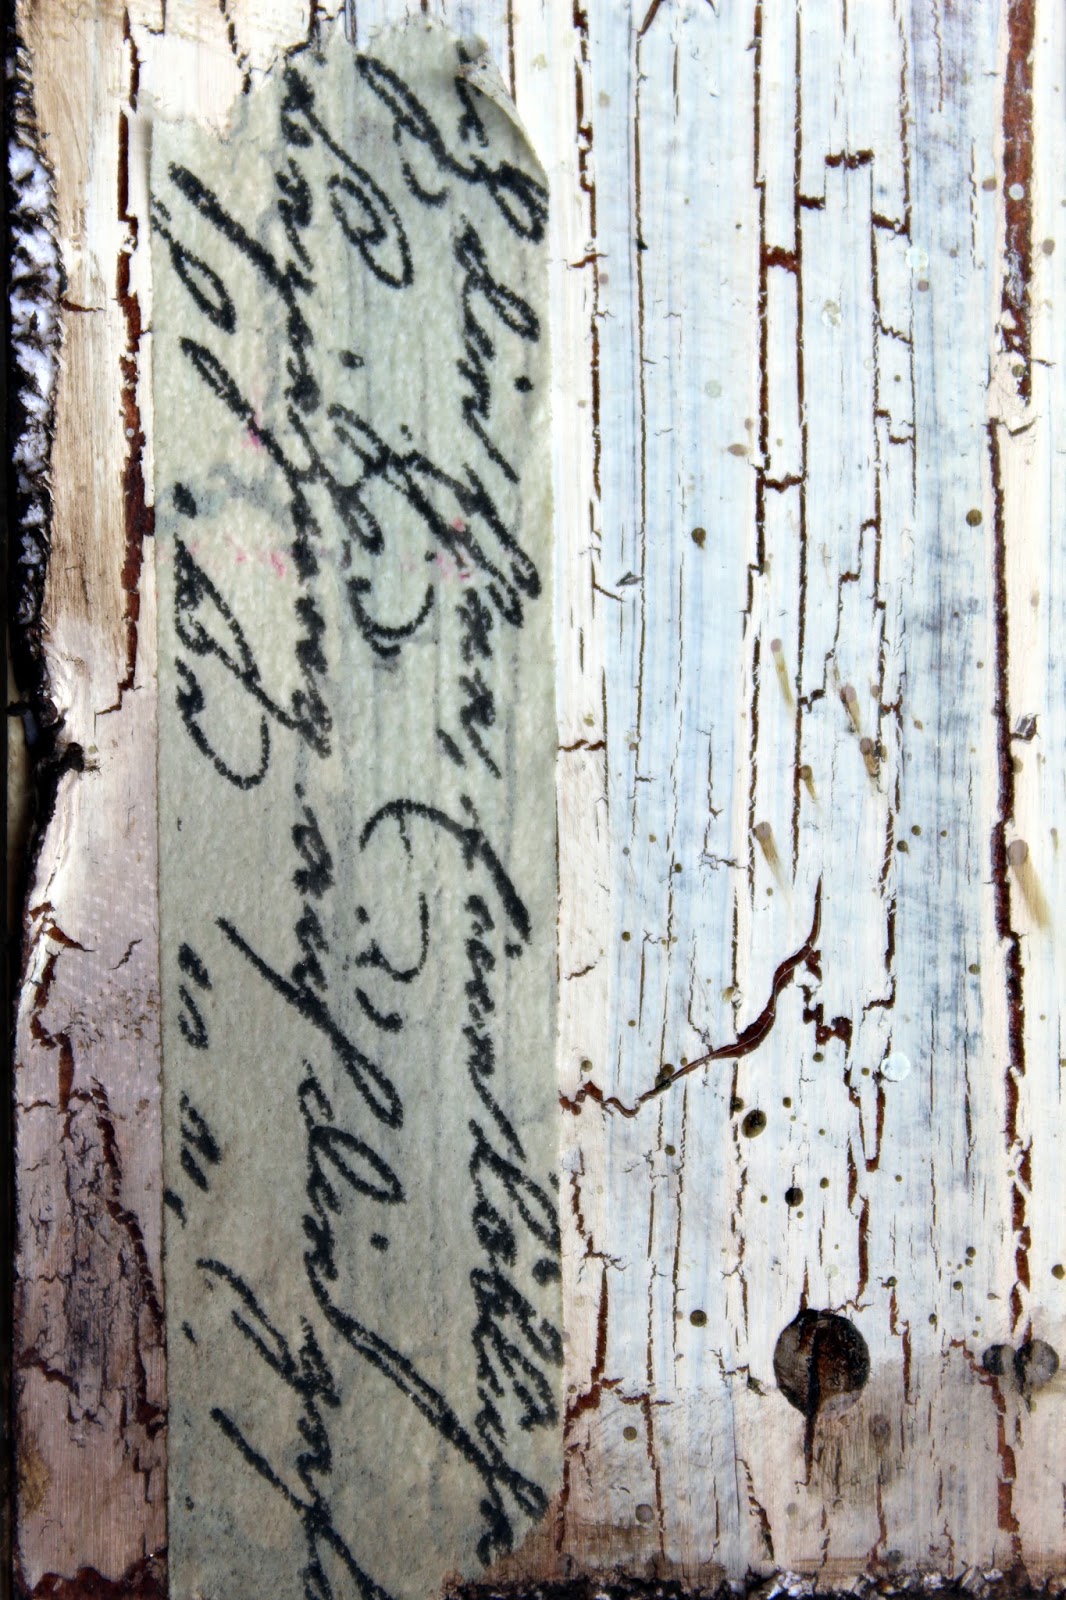
 I stamped a spider web and script and text stamps around the card  


I then diluted some picket Fence DP with water and flicked the paint over the card


 I dabbed some Carbon Black Antiquing cream around the edge of the card and wiped away with a damp cloth when dry and then dabbed it with some Paynes Grey and then sanded it so the edge looked distressed and aged


Then I dabbed the card in places with Spiced Marmalade DI. I needed to make this permanent so I dabbed it all over with a sponge dipped into Decoart Matte Varnish...working quickly to not dislodge the ink...The ink being water reactive did move slightly, but this added to the rustic effect as it formed streaks rather than smooth blending.


I then applied some Decoart Gold Interference paint - It looks amazing but is really hard to photograph...This was the best shot I got of it...


Happy Halloween was stamped onto the card using Jet Black Archival ink

I stuck the card onto mount board and attached black wire to the top as a hanger. I twisted the ends into curls and then wrapped hemp string around it before fraying the edges.


Hope you like it!

Happy Halloween!

Laura 
xxx


Follow on Bloglovin

Tuesday 27 October 2015

Rust No.5

Hi everyone! 

Today is the final one of the set of five rust pieces I made in the Adventures in Rust post

 This one was cut from embossed card and had liquid glass as rivet effects. After the Paynes Grey/white paint was applied this frame got a wash of  Decoart Media Raw Umber acrylic paint. This was followed by Quinacridone gold and Paynes Grey for shading with some additional Burnt Umber dry brushing....


 .....and here is what I made with it....


I cut out part of an old book as illustrations


I wrapped twine around the frame and tied it into a bow


I stuck some dictionary pages to card and die cut them in flower shapes before dabbing them with Brushed Corduroy DI and sticking the petals together to make a rustic rose shape


I added some leaves cut from wrinkle free distress card made using Brushed Corduroy and Gathered Twigs DI. I also cut some leaves from card that had dictionary paper glued to it.


Hope you like my final Rust Creation - I had so much fun with these!

Happy Crafting!

Laura 
xxx


Follow on Bloglovin

Saturday 24 October 2015

Rust no.4

Hi everyone! 

Time has come to share Rust creation No.4!  This one started out as a very plain frame made using the usual rust method. It was given a Paynes Grey wash after the coat of Paynes grey/white acrylic paint and this was followed with Quinacridone Gold.


and this is what it looks like now....


 I cut a heart from card and painted it with Decoart Media Burnt Umber paint. I then covered it with a torn dictionary page.


I smeared it with some crackle paint before dry brushing with Quinacridone Gold and Burnt Umber paint and sanding it down to distress the paint.

I added some rusty mesh that I found while walking the dog! I love finding bits of junk and turning them into a treasure!. 


I used some Tando Hearts that were covered with Decoart Titan Buff paint before covering with Decoart Crackle Glaze. 


When dry I rubbed them with Quinacridone Gold paint.
A few drops of Onyx Liquid Pearls were added.


 I used a Found Relatives Photo inside the frame


I brushed an embossed post card sign with Pewter Treasure gold after painting it with Burnt Umber Paint.


Rusty twisted wire was used as a hanger


There is my finished Rust Hanger....

Hope you liked it!

The next (and final ) Rust creation will be the one made using this -


Hope you will come back to see the final creation!

Happy Crafting!

Laura xxxxxx


Follow on Bloglovin

Wednesday 21 October 2015

Rust No.3

Hi everyone!

Welcome to the 3rd rust creation! 
I think this is my favourite one (though it didn't start off like that!)  

At first I thought I had made a HUGE error - to be honest the colour wash I chose looked like a massive mistake - it looked too bright and I wasn't keen at all....but the Quinacridone Gold can make anything look beautiful!

      I covered it with embossed card and after the Paynes grey/white acrylic coat was dry I covered it with a wash of Decoart Media Cobalt Turquoise Hue....At this point I considered throwing it away! But I was determined to see it through and see what all of the colour washes looked like as finished rust effects. This was then painted with Quinacridone Gold - concentrated more on the patches of texture paste and dry brushed everywhere else. The edges were shaded with Paynes Grey


And this is what it looks like now....


This was a super simple one to finish...It was already in the form of a decorative frame with the embossing and the triple frames cut out so it didn't really need much added. I stuck some dictionary paper onto card and die cut leaf shapes


I then dabbed each leaf with Evergreen Bough DI before darkening the edges a little with Walnut Stain DI. I added a chit chat sticker to each leaf which had been dabbed with some Ground Espresso DI. The background was from the Prima Cartographer paper set...


I added some ornate metal corners which had been covered with Decoart Iced Espresso Metallic Lustre.


And there is the finished frame! Hope you like it...

The next one will be this frame...Hope you will come back to see what it became...


Thanks so much for being here!

Happy Crafting!
Laura 
xxx


Follow on Bloglovin

Sunday 18 October 2015

Weathered Wood

Hi everyone!

Still in that Autumn mood so I decided to make this rustic wood effect tag....


    I did some experimenting with adding glycerine to card to make it softer and easier to work with. I love crumpled card - it is such a lovely effect but I wanted to be able to bend the card without creasing it. So I mixed Glycerine and water in a spray bottle and spritzed some card before sprinkling with Brushos...I am new to these and bought two colours - Dark Brown and Gamboge. When dry I cut the soft card out with the Thinlits Fall Foliage set.


 I cut two tags - one with an oval. The one with the oval cut out I covered with Decoart Burnt Umber Acrylic paint and then covered it with a light coat of Decoart Weathered Wood crackle medium. I then brushed it with Fresco Nougat Paint.


 The leaves were stuck onto an oval cut of wood printed paper...it looks purple in the photos - but it is actually a lovely dark brown. This was spritzed with White Linen Dylusion spray. 


 I ran scissors along the edge of the top tag to roughen up the edge a little and then dabbed with Ground Espresso DI


I stuck it onto the other tag that I had covered with Dictionary paper.

I flicked some watered down Decoart Burnt Umber paint onto the tag 


A few pieces of Hobgoblin tissue tape were added


...and a twine bow was tied to the top of the tag 


Hope you like it!

Happy Crafting

Laura
xxx 


Follow on Bloglovin