Thursday, 17 October 2013

Funkie Junkie 12 Tags Of Christmas - Week One

Hi everyone!

    Last year I loved the Funkie Junkie 12 tags of Christmas...Sadly I didn't join in - I was new to blogland, I felt I didn't know enough techniques, and that I couldn't possibly catch up even if I did know enough....and so I was content to watch in awe.... This year I am going to join in!!!

     Earlier this year I went to Stamperama and there was a deal on buying Kaisercraft MDF albums...I bought four sets planning to use some of them for the 12 tags of Christmas. I planned to make all 12 and hang them up at Christmas...I thought the MDF will make them sturdier and easier to hang up.

         I am so excited that it is that time of year already! I have been feeling very ill and hadn't made anything for what seems like ages....Linda's Christmas tags are the perfect inspiration to help get back into a craft mood...and I loved making this one....


  First of all apologies for the upside down writing in the background...I didn't realise my mistake until all pictures were uploaded --- Oh well, embrace imperfection! ;o)

    I was obviously very inspired by the monochrome snow look! I cut a piece of black card to the size of the tag and stamped snowflakes with Picket Fence DP.


  I then lightly spritzed the card with White Linen Dylusions spray to look like a dusting of snow flakes.


    I cut out a rectangle of black card, spritzed with the Dylusions spray again and wrote 'Let it Snow' on it in white gel pen. The frame was covered in music print paper and then covered in Clear Rock Candy distress stickles dry glitter. The die cut flourish was also covered in glitter.


  I loved the hint of bright colour on Linda's monochromatic tag so I had to bring in my own scarlet and green. A few die cut flowers were dabbed with Peeled Paint DS and had a silver brad attatched to them.


     A scarlet satin ribbon bow was placed with one of the flowers and another bow topped the tag.
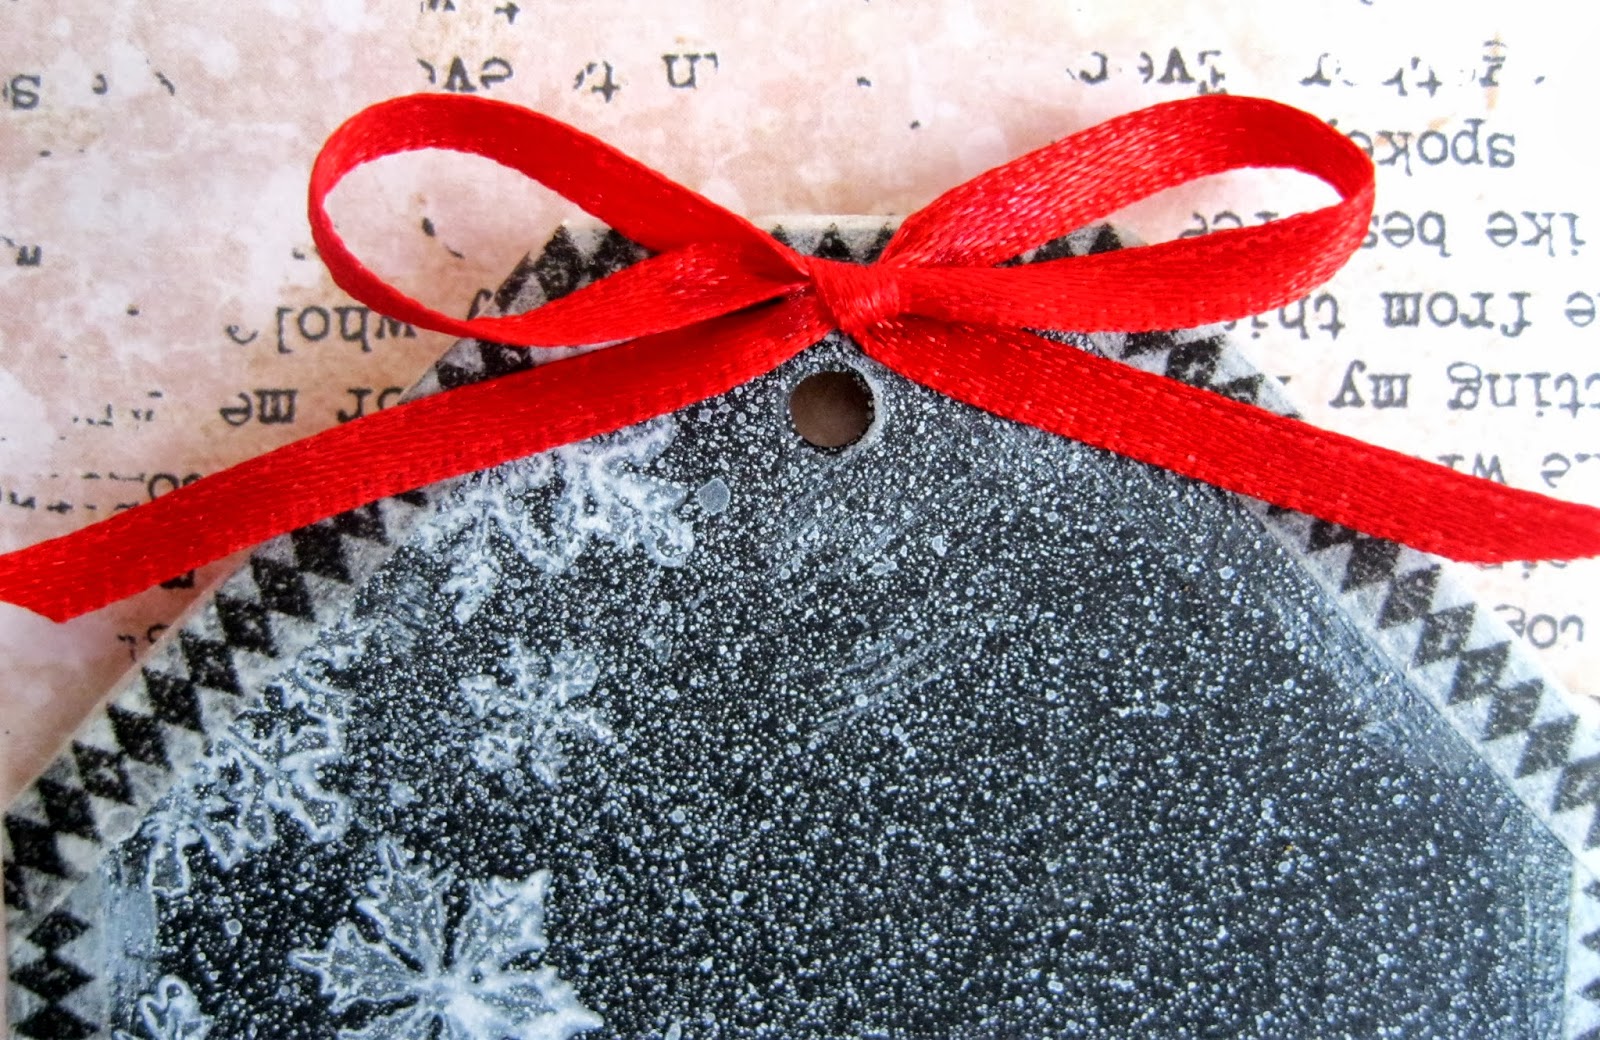

                                         I used some tissue tape to edge the tag....


                                 ....and there is my first '12 Tags of Christmas' tag!


       Hope you like it! There will be more to follow! Why not join in too...just make something inspired by each tag and you could be in with a chance to win $50 to spend at the Funkie Junkie Boutique

               See you soon!


I would like to enter this in the following challenge -

Funkie Junkie - 12 Tags of Christmas


 Follow on Bloglovin

Wednesday, 16 October 2013

Porcelain Rose

Hi everyone! It seems ages since I wrote a blog post!

     I am afraid I have been feeling very poorly - typical early autumn flu bug thing....and I still feel bad! Luckily on my blog I work about a month ahead (shame the same can't be said for housework!!!) so I had plenty of blog posts all set up, scheduled to be posted...and to be honest blogging totally got away from me in the awful sick haze....But at some point I was going to have to catch up and as I am nearly left with having nothing to post, it is now time to create and write!


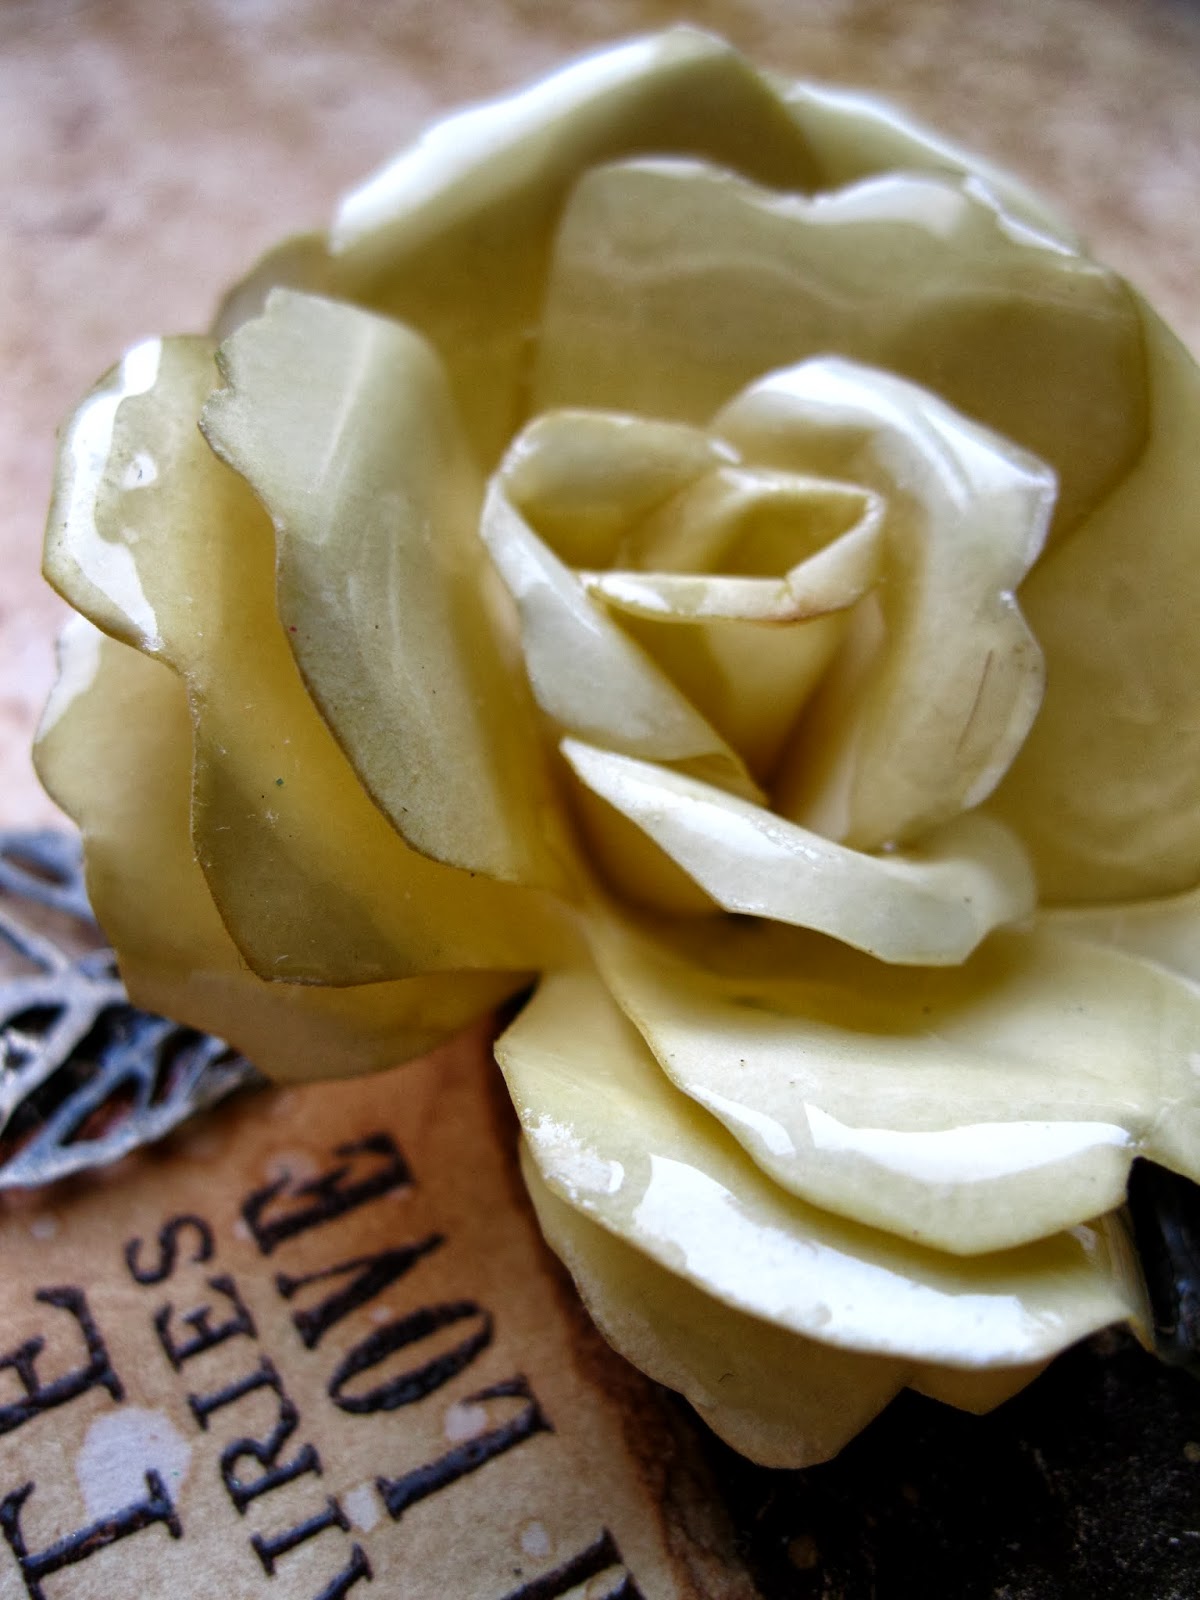
   This post is at least an easy one to do because the tag is actually one I made just after getting back from the Ally Pally show....I finally had my much wanted Melt Art pot and I could at last make a porcelain effect rose. I had attempted to make one ages ago...first seeing the technique done by the wonderful Funkie Junkie Linda....I tried to do my own version with the limited stuff I owned - It really doesn't work with anything other than a melt pot...I tried coating each petal in ordinary embossing powder but doing the petals before creating the rose causes the petals to crack and it is impossible to apply embossing ink and powder to a ready made rose...

     It is trickier than it looks even using the melt pot...but a lot of fun too! The flowers were the diecut and then edges with Antique Linen DI. The rose was assembled as usual and each section was brushed with the melted UTEE...afterwards each section was stuck together to form the rose.


    The tag was covered with some plain white paper that I had wiped some Gathered Twig and Walnut Stain DS over and spritzed with water...I then scrunched it up into a ball before flattening it out and drying with the heat gun - this is a bit tricky as the paper is very delicate when wet, but it makes some gorgeous creases! After it dried I blended some Walnut Stain DI over it and then applied it to a tag.


     White Fire Treasure Gold was brushed over the entire tag with a very soft brush, it really highlights all the creases. I added some gold frantage to the bottom of the tag - first time I used it and I didn't apply enough...but it is still a nice effect.


   The words were stamped onto card, torn around the edge and Vintage Photo DI blended over it...


a bit of spritz and flick gave a lovely speckled look - I don't use this technique often enough!


      A ornate metal embellishment was added to the top and metal leaves attached to the bottom of the tag with the rose...


       Hope you like my Porcelain Rose - It certainly doesn't look like it was made from ordinary ivory card....amazing what die cuts and some UTEE will do!

        Hope to see you soon!


Follow on Bloglovin

Tuesday, 8 October 2013

Autumn Texture

Hello everyone!

     Today at Try it on Tuesday we are doing -

Textures


      I decided to make a tag - I haven't done any for a while and lately I have been making loads!

     This tag started with a bag of bark! Which I found in the Czech equivalent of a PoundStore while on holiday over there during the summer....

      A few twigs from the garden and I was set to go....another Autumn tag.....

   For the base of the tag I glued some tissue paper to card, creasing it as I stuck it down. I added several layers to add to the rustic textured look. When dry I painted it with Fresco paints - Pumpkin Soup, Smoked Paprika and Blood Orange.


    I used some stamps - a flourish and text and stamped them with Potting Soil Archival ink around the tag. 


    I added a strip of burlap and put the word 'October' on it which was a chit-chat sticker inked with Rusty Hinge DI and added to a piece of card inked in Spiced Marmalade.


I had some die cut leaves - painted them with Mocha Mousse paint and then applied Crackle Glaze over the top. When dry I rubbed some French Roast Fresco paint into the cracks.

    At this point I wasn't too happy with it all. I stuck the bark in place, and arrange the leaves and twigs but it wasn't working. I put it aside and tried to come up with some ideas. I was looking around a local art shop one day and came across a box of embossing powders for sale at 60% off!- up until then I only had clear embossing powder so I grabbed Gold, Copper, Viridian and White...(and went back later for every other colour they had!)


      Back home I had another look at the tag and went for it...I scattered embossing powder all over the place! Over the leaves, around the edge...making sure there were little melted particles scattered all over...I look at it now and wonder "Too much?"...but I had soooo much fun ;o)


     Twine and a paper ribbon finished off the very sparkly and very textured tag!


            Hope you like my Textured Tag - Why not come on over to Try It On Tuesday and join in the textured fun?

                      Thanks so much for being here - see you all soon!


 Follow on Bloglovin

Sunday, 6 October 2013

Mask or Stencil


  Hello everyone,

         Today at Fashionable Stamping Challenges the subject is -


Masks and Stencils


I did this tag just after I got my Tim Holtz stencils and I decided to use the Dot Fade one.

This tag is quite a simple one compared to what I normally do and I really liked doing it...sometimes it is great to add layer after layer and tons of frills and embellishments...but for this one I wanted a more simpler style.

I had a Kraft tag and stamped some Tim Holtz Stamps in with Potting Soil Archival ink in opposite corners.


I then dabbed some Walnut Stain DI over the Dot Fade stencil in the other corners


I stamped the quote on some Kraft card that I had used to mop up the excess Dylusions white ink from a previous time using the Stencil - It is very subtle and not very noticeable here but I like the added texture it gives to the quote background.


I used some kraft die cut flowers and inked around the edges with Walnut Stain DI and gave a very heavy coating of Rock Candy Distress stickles glue.


The fern style leaves were inked with Walnut Stain DI and I added some curly rusty wire.


The tag is finished off with some thick twine tied in a bow


          Hope you like my stencil tag! Why not hop over to Fashionable Stamping Challenges and join in the challenge! You could win $20 to spend at Flonzcraft! - Happy Stamping!


Follow on Bloglovin

Tuesday, 1 October 2013

Textured Tag

Welcome back!


 Its October! It is the start of a brand new challenge over at Our Creative Corner and Julia is saying -


"IT'S HALLOWEEN - LET'S TAG IT ON!"
For your entry this month, you must make a tag which can be any size but it must be the main project, not simply a tag you have attached to your work. Your theme is, of course, HALLOWEEN!


There is a further twist though: your tag must include some SURFACE TEXTURE. Think modelling paste, thick gesso or clay with texture from stamps or other items, dry embossing or powder embossing, texture sprays, crackle glaze, fabric, corrugated cardboard – the list is endless really!


I wondered for a while how to add texture - what to use?  Julia is right - there is so much choice. I decided to go for some embossed card, extra texture provided by the torn edges and added to the top and bottom of the tag, slightly overlapping to give a kind of rustic pillar effect.

     I embossed the words Happy Halloween using black archival ink and clear embossing powder,


   ........and then I covered the tag with Peeled Paint, Dusty Concord and Spiced Marmalade DS. I spritzed with water that had some Mica powder added to give a hint of shimmer, and this helped to blend the colours together.


    I stamped the skull onto text from a book in Watering Can Archival ink as I didn't want the skull image to be too vivid...I wanted it to be a pale ghostly skull...I cut it out and dabbed some Vintage Photo DI around the edges to add some shading.


    I stamped some spiders webs with Watering Can Archival ink and some script and spider stamps in Black Archival ink.


It looked a bit 'flat'...so I added some spritzes of Dylusions white ink which added a nice dusty look.


I distressed the edges of the tag with some scissors and then dabbed some Black Soot DI around it to make it look very dark and shabby.


I got a glass bottle and added some green alcohol ink, and some water that had a dab of white acrylic paint in it...mixed together it became a lovely murky green colour.


I attached it to the tag with dark brown Hemp string and hooked a loop of curled black wire around the string.


        We would LOVE to have your wonderful Halloween Tags join us over at Our Creative Corner this month...and we can't wait to visit you all to see them!

       The winner will be featured as our Top Talent, have an interview and be in the Spotlight showing everyone a creation they have made - and they will be in the Winners Corner! So come on over and join in the spooky fun!


I would like to enter this in the following challenges -

Country View Challenges - Something Spooky
Simon Says - Say it with Stamps


 Follow on Bloglovin