
This was my second creation for my Guest Design month in February at The Artistic Stamper. With my appearance being scheduled for the 14th I had to make something for Valentines Day. I chose to make a romantic themed altered book. I had made altered books before, but this time I wanted to make something slightly different and after much thought I decided to turn it into a box. This was a lot of fun because I had to figure out how to do it - and the journey of discovery of what works and what things you 'should never do!' is always something I really enjoy!

I had a small hardback book and tore the pages out (and saving them for future projects!) being careful not to tear the binding at all. Once I had just the cover I needed to decorate it.


I glued the paper to the book cover using Matte Multi-Medium and left to dry while I worked on some leather effect paper.
For this I used the same white paper that I used for the cover and this time I swiped Forest Moss, Walnut Stain and Gathered Twigs Distress Stain all over the paper, then spritzed with a little bit of water. I scrunched the paper up in my hands and then unravelled it (very carefully!) I dried this with a heat gun and used Distress inks - Walnut Stain and Gathered Twigs with the blending tool to fill in any gaps of colour. I then wiped across the paper lightly with the Walnut Stain pad. This adds very intense colour to the creases. I then dried it carefully with the heat gun again.

I cut a strip of this leather effect paper to size for the book spine and glued it into place with a light coat of multi-medium and then began to construct the panel that would be used to hold the book box shut. This was just a sheet of card covered with the leather paper and glued onto the book box with Glossy accents glue.
A Tim Holtz bookplate was used to decorate the front

and a metal clasp was attached to the card with brads to hold it shut.

The inside was decorated with plain white paper...this had been stamped with flowers from Botanical 3 in Victorian Velvet Distress Ink. I randomly stamped the images and then dabbed a bit of the ink over the roses to create a subtle faded effect. I used Shabby Shutters Distress Stain to add colour to the leaves and then used Antique Linen Distress ink to fill in around the flowers. A bit of Walnut Stain Distress ink around the edges added a bit of a shabby vintage look. When this was done I glued it to the inside of the book cover.

Now to construct the box. I cut three pieces of balsa wood to size, used some wood stain to match the cover of the book and glued them into place.


To decorate the inside cover I used a Gibson Girl stamp and the portrait from Men's Plate 001. I stamped them with Potting Soil Archival ink and then decided that I wanted them to look like old photographs. I used Faded Burlap, Gathered Twigs, Walnut Stain and Antique Linen Distress Stains to paint the stamps with vintage sepia photograph colours. When this was done I dabbed them with embossing ink and did a light coat of clear embossing powder to look like the photos were behind glass frames.


The frames were cut from embossed card and painted with Old Gold Fresco paint which was then dabbed with French Roast Fresco Paint. I glued the two photographs side by side and then began to add some decoration from my craft stash....

A rose was dabbed with Vintage Photo Distress Ink, some leaves covered in Mocha Mousse Fresco paint and Rock Candy glitter glue. A flower die cut was painted with Antique Linen Distress Paint and then edged with Tattered Rose Distress Ink. A few metal embellishments were added including a key and envelope. I finished off the decoration with some crochet lace that was lightly dabbed with Vintage Photo Distress Ink and some ivory hemp string tied into bows.
I decided that the box should hold some memories - perhaps of travel, romantic destinations, letters, postcards and photographs. All of them were tied up with peach ribbon and I couldn't resist adding a tarnished brass key - perhaps somewhere there are more intriguing memories locked away?......

One of the stamps resembled an old faded photograph when stamped with Potting Soil Archival ink and covered with Vintage Photo Distress Ink.

I also used the map background

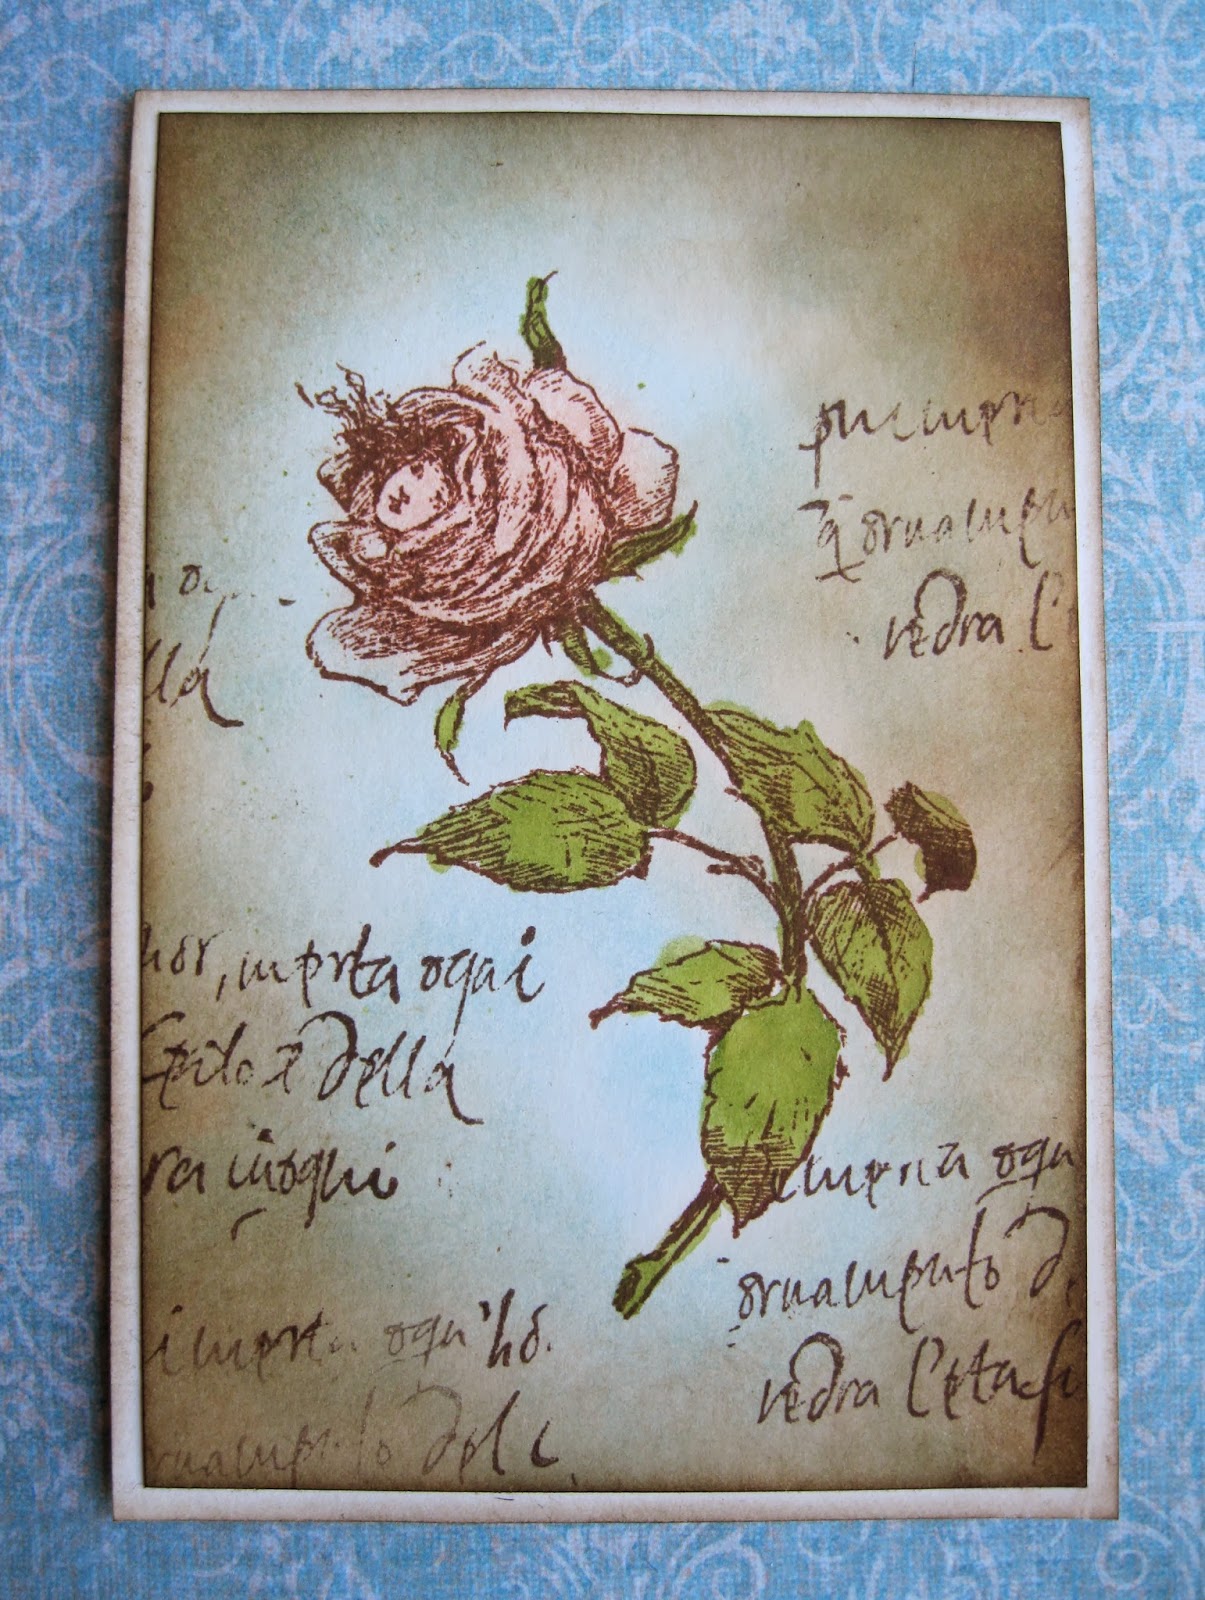
The rose was stamped with Potting Soil Archival ink and coloured with Tattered Rose Distress ink. The leaves were painted with Shabby Shutters Distress stain and the background of the picture was covered with Broken China Distress ink before being edged with Vintage Photo Distress ink. Calligraphic Mat 6 was used to add script around the edges.

Thanks so much for being here to see my Valentines day creation at The
Artistic Stamper - I really hope you like it!


This is gorgeous Laura. It's hard to believe it started life as an old book. This box is so very pretty, I love the colours, beautiful stamping and every last detail. tfs x
ReplyDeleteWhat a clever idea to use the cover and binding from a bound book to create a memoir book. What I especially love about this - is the romantic, charming, ol' world feel to it. The details are amazing and I think I am in love with your map stamp. I'm not even sure how I linked to your blog - maybe through InkyPinky, so glad that I did though. This lovely piece of yours has made a follower out of me.
ReplyDeleteThis was amazing. Thank you for sharing your talents. Look forward to more great projects and inspiration.
ReplyDelete